The project outline is as follows:
- A new project is created as a Windows application in Visual Basic using the Visual Studio 2019 IDE.
- Click on View on the Visual Studio menu, select Other Windows and then Data Sources.
- On the Data Source window, click Add new Data Source as the Data Source Configuration Wizard opens.
- On the choose a Data Source Type, select Database and click next.
- On the Choose a Database Model, select Dataset and next.
- Select New Connection on the Choose Your Data Connection. On the Add Connection form, navigate to the Microsof Database File for the data source.
- In the Database File Name of the form, specify the path and name of the .mdb file you want to work with. (In my case, I choose the xtreme.mdb database).
- Click on the Test Connection; answer should be test connect successful.
- Then click OK.
- On the Choose Your data connection, select next.
- Select next on the save Connection string to the application Configuration page.
- Expand the tables in the database on the left and choose your database objects.
- Select the table you wish to work with in your dataset and select Finish.
The dataset is now added to your project and the tables and views appear in the DataSources window.. You are now ready to move the data from the database and tables in DataSources on to the Windows Visual Basic form.
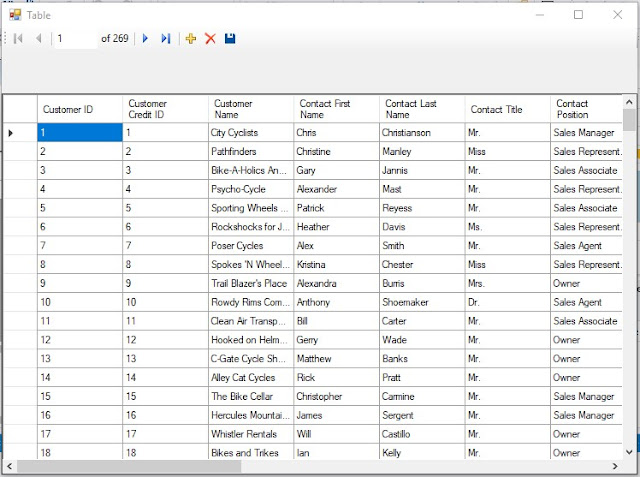
This can be done using a DataGrid View control by dragging the DataGrid View control on to the form.
- Run the project. The data in the table will then be loaded on to the DatagridView.
To view the table data in the Details format click and drag the Details view from the table on to the form
- Run the project. The result will show the details in a tabular format.
These two screenshots show first the DataGridView and second the Details View.
 |
| DataGrid View |
 |
| Details View |
No comments:
Post a Comment